Reference: how to prepare OSM Kubernetes Applications (OKA)
Reminder on some OSM concepts
KSU (Kubernetes Software Unit):
The minimal unit of state to be synced by the workload cluster from a Git repo
It is a set of manifests placed in the Git repo, associated to a profile, which is in turn associated to a cluster.
OKA (OSM Kubernetes Application) is a blueprint for a KSU, a convenient way to encapsulate the logic for a KSU in a package.
Introduction
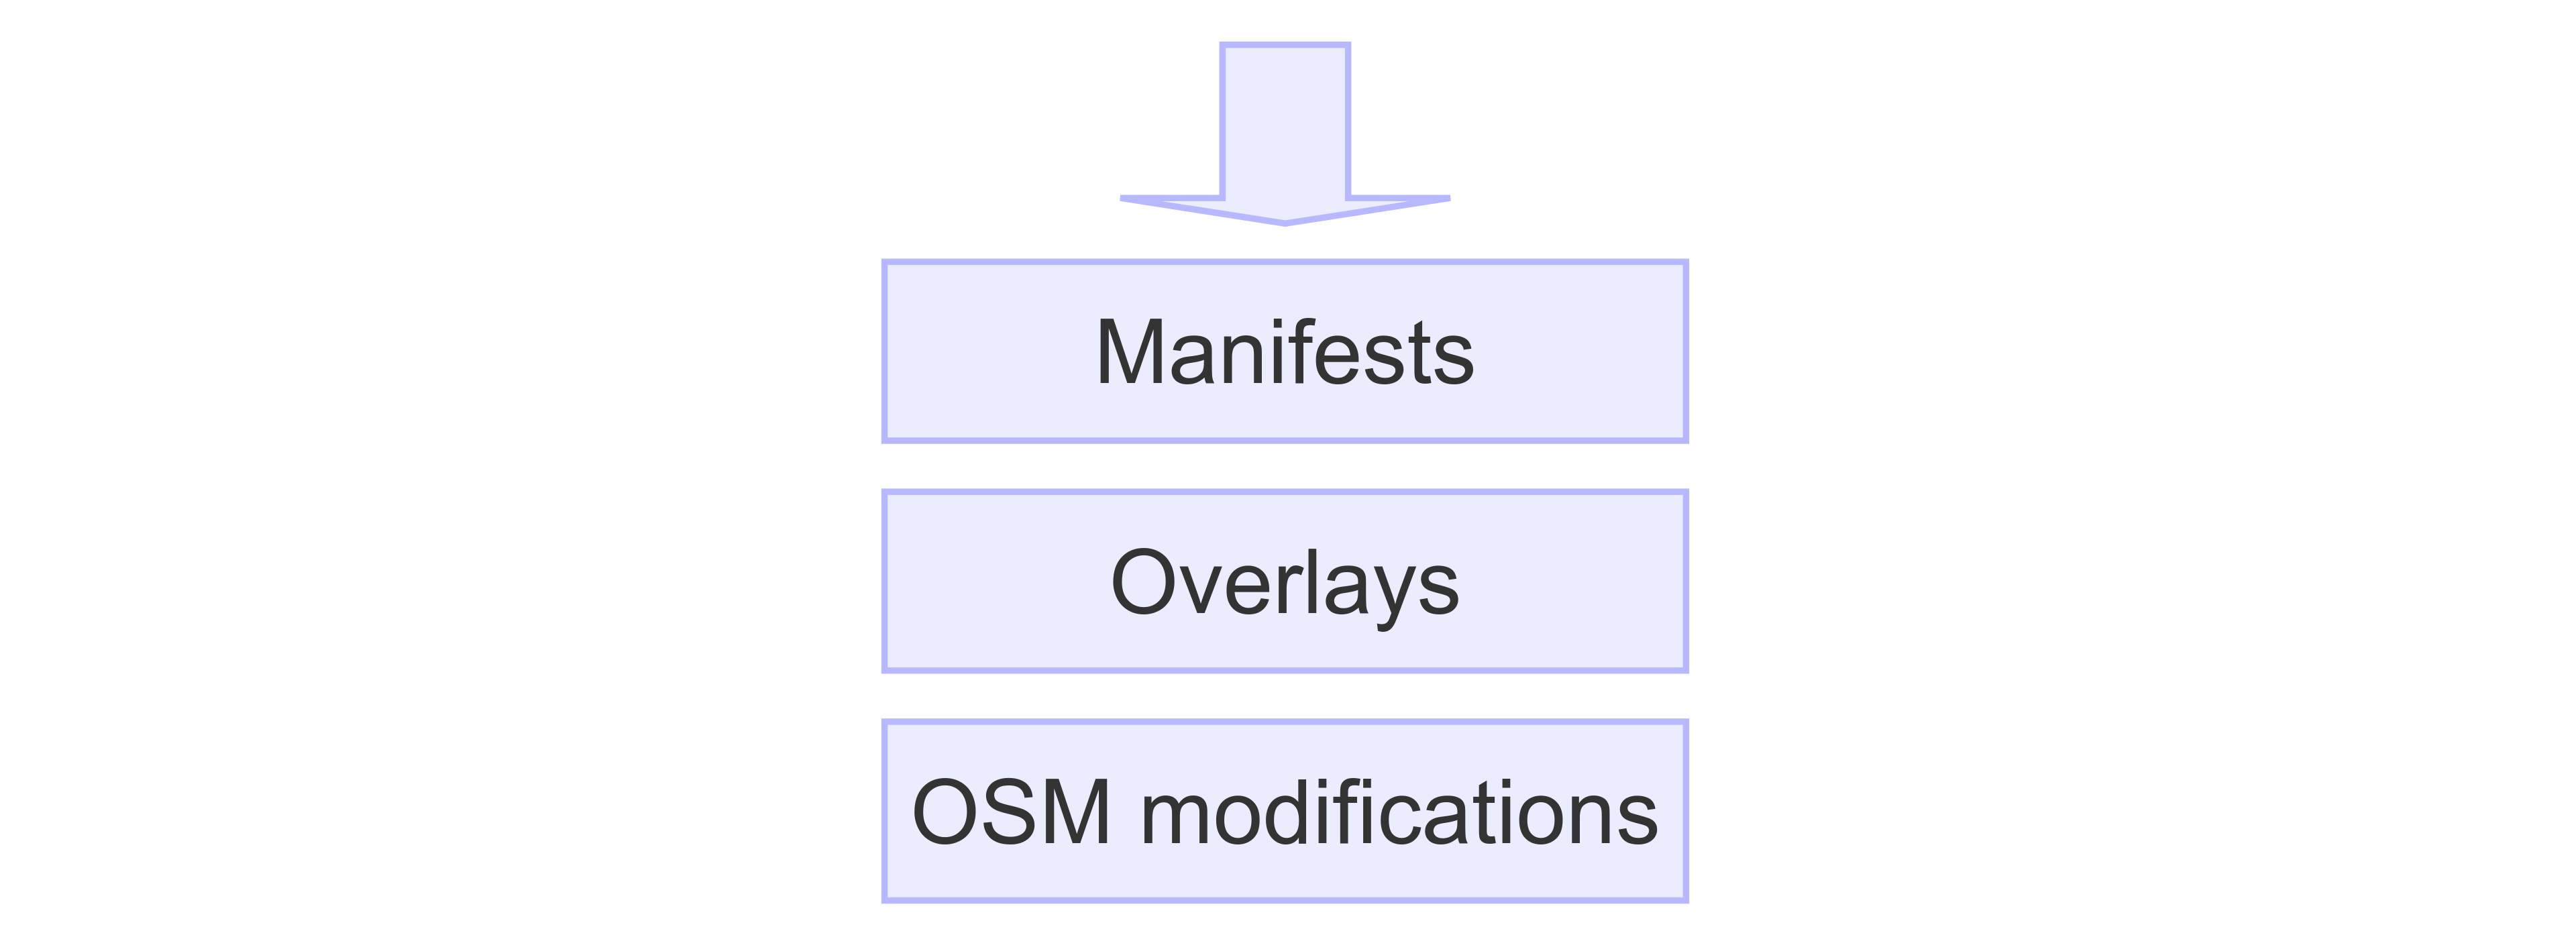
There are three layers that contribute to the final result (Kubernetes SW unit) that will be commited to the Git repository, and therefore applied in the workload cluster:
Manifests. They are given.
Overlays that allow customization of these manifests. They are changes relative to the original manifests.
Modifications to the overlays that OSM can make at instantiation time (KSU deployment).
Manifests and overlays can be encapsulated in a package called OKA. Examples of OKAs can be found here
apps/namespace: OKA for namespace creationapps/testacme: OKA based on Kubernetes manifestsapps/jenkins: OKA based on Helm charts
Structure of an OKA
It consists of two folders: manifests and templates:
manifests(the first layer) represents the manifests that are given by the vendor, with optional modifications. Two options here:From Kubernetes manifests
From Helm charts
templates(the second layer): Flux kustomizations (at least one) pointing to the manifests, and defining overlays to customize the manifests.Optionally, it can contain auxiliary Kubernetes manifests to be created at instantiation time.
Manifests are not applied directly in the workload cluster, but they are mediated by the Flux kustomizations.
Examples of structures of an OKA can be seen below:
apps/namespace: OKA for namespace creation$ tree apps/namespace namespace/ |-- manifests | `-- namespace.yaml `-- templates `-- namespace-ks.yamlapps/testacme: OKA based on Kubernetes manifests$ tree testacme testacme |-- manifests | |-- testacme-deploy.yaml | `-- testacme-svc.yaml `-- templates `-- testacme-ks.yamlapps/jenkins: OKA based on Helm charts$ tree apps/jenkins jenkins |-- manifests | |-- bitnamicharts-repo.yaml | `-- jenkins-hr.yaml `-- templates `--- jenkins-ks.yaml
The OKA with its manifests and templates is stored in the sw-catalogs Git repo. Meanwhile, the final KSU that will be generated at instantiation time from the templates is stored in the fleet Git repo, under the appropriate profile.
How to create objects in the manifests folder
Option 1. Set of Kubernetes manifests
Just put the manifests in the folder manifests. Below an example for the apps/testacme OKA:
apiVersion: apps/v1
kind: Deployment
metadata:
  creationTimestamp: null
  labels:
    config: myapp
  name: myapp-deployment
  namespace: mynamespace
spec:
  replicas: 1
  selector:
    matchLabels:
      run: myapp
  strategy: {}
  template:
    metadata:
      creationTimestamp: null
      labels:
        run: myapp
    spec:
      containers:
      - image: docker.io/hashicorp/http-echo:1.0
        imagePullPolicy: Always
        name: myapp
        ports:
        - containerPort: 5678
          protocol: TCP
        resources: {}
        args:
        - "-text=\"hello\""
      imagePullSecrets:
      - name: docker.io
apiVersion: v1
kind: Service
metadata:
  creationTimestamp: null
  labels:
    config: myapp
    run: myapp
  name: myapp-http
  namespace: mynamespace
spec:
  ports:
  - name: http5678tls
    port: 5678
    protocol: TCP
    targetPort: 5678
  selector:
    run: myapp
  type: ClusterIP
Option 2. For Helm charts
Two manifests need to be created, one for the helm repository and one for the helm release. Below an example for the apps/jenkins OKA:
apiVersion: source.toolkit.fluxcd.io/v1beta2
kind: HelmRepository
metadata:
  name: bitnamicharts
  namespace: jenkins
spec:
  interval: 10m0s
  type: oci
  url: oci://registry-1.docker.io/bitnamicharts
apiVersion: helm.toolkit.fluxcd.io/v2beta1
kind: HelmRelease
metadata:
  name: jenkins
  namespace: jenkins
spec:
  chart:
    spec:
      chart: jenkins
      version: '13.4.20'
      reconcileStrategy: ChartVersion
      sourceRef:
        kind: HelmRepository
        name: bitnamicharts
        namespace: jenkins
  interval: 3m0s
  targetNamespace: jenkins
  values: {}
How to create the Kustomizations in the templates folder
The Flux kustomization should be prepared to point to the manifests in the sw-catalogs repo:
apiVersion: kustomize.toolkit.fluxcd.io/v1
kind: Kustomization
metadata:
  name: ${APPNAME}
  namespace: flux-system
spec:
  interval: 1h0m0s
  path: ./apps/jenkins/manifests
  prune: true
  sourceRef:
    kind: GitRepository
    name: sw-catalogs
    namespace: flux-system
Please use the right path pointing to the folder where the manifests of your OKA are located (./apps/jenkins/manifests in this case).
For the moment, we will skip the meaning of variables such as ${APPNAME} or ${TARGET_NS}.
Then, we need to define in the kustomization the overlay patches (second layer) that will be applied to the manifests.
How to create overlays in Flux Kustomization
Three mechanisms to create overlays in Flux kustomizations:
Overlay patch.
It follows the mechanisms described here
They are added with the directive:
patches.Example from
apps/namespaceOKA:patches: - target: kind: Namespace version: v1 name: mynamespace patch: |- - op: replace path: /metadata/name value: finalnamespace
Example from
apps/jenkinsOKA:patches: - target: kind: HelmRelease version: v2beta1 name: jenkins namespace: jenkins patch: |- - op: replace path: /metadata/name value: ${APPNAME} - op: replace path: /spec/chart/spec/sourceRef/namespace value: ${TARGET_NS} - op: replace path: /spec/targetNamespace value: ${TARGET_NS} - target: kind: HelmRepository version: v2beta1 name: bitnamicharts namespace: jenkins patch: |- - op: replace path: /metadata/namespace value: ${TARGET_NS}
Postbuilder: A simple parameterization mechanism that allows replacing values defined in the manifests. It can be compared to Helm values but is less powerful.
It follows the mechanisms described here
They are added with the directive
postbuild.Manifests should be properly updated to use the variables that will be substituted by the
postBuilddirective. For instance, the manifests forapps/testacmeOKA here use the variables${appname},${target_ns}and${echo_message}.Example:
postBuild:
  substitute:
    appname: myappname
    target_ns: mynamespace
    echo_message: Hello everybody
High-level directives in the kustomization:
targetNamespace: optional field to specify the target namespace for all the objects that are part of the Kustomization.commonMetadata: optional field used to specify any metadata (labels and annotations) that should be applied to all the Kustomization’s resources.namePrefixandnameSuffix: optional fields used to specify a prefix and suffix to be added to the names of all the resources in the Kustomization.
How to expose parameters that can be defined at instantiation time
In the previous section, the parameterization mechanism based on postbuild was detailed, which allows replacing values defined in the manifests. In order to expose some of these parameters at instantiation time, some custom env vars can be defined and OSM will substitute them at instantiation time.
In the example below, three custom env vars are defined: APPNAME, TARGET_NS and ECHO_MESSAGE. As a best practice, we recommend the use of capital letters for those exposed env vars, to differentiate from the variables used in the manifests for the postBuild patches.
postBuild:
  substitute:
    appname: ${APPNAME}
    target_ns: ${TARGET_NS}
    echo_message: ${ECHO_MESSAGE}
How to modify kustomization overlays at instantiation time (third layer)
At instantiation time, when KSUs are created, OSM take the files defined in the templates folder and applies a third layer of modifications before adding those files to the fleet repo. OSM has some directives that can be applied at instantiation time to do those transformations, which allow:
Replacement of variables.
Dynamically generate objects, e.g. encrypted secrets.
Add additional overlay patches.
OSM transformations that can be applied to any KSU to replace values
Exposed variables can be replaced with the directive custom_env_vars at instantiation time. By default, there are two pre-defined parameters in OSM that are always replaced:
KSU name, which will replace APPNAME in the
templatesfolder. It is always defined.namespace, which will replace TARGET_NS in thetemplatesfolder. If not defined, it defaults todefault.
The rest of exposed variables can be provided at instantiation time under custom_env_vars.
The following example shows how to set TARGET_NS via namespace and how to set other custom_env_vars:
namespace: mynamespace
custom_env_vars:
  ECHO_MESSAGE: hello to everybody
OSM transformations that can be only applied to helm releases
There are three directives that can be used at instantiation time to provide values to a helm release:
inline_values:OSM adds an overlay patch to the helm release with that content.
configmap_values:Values come from a configmap
secret_values:Values come from a secret
The directives correspond to the three ways values can be supplied to a Flux HelmRelease object: inline (with inline_values), configmap (with configmap_values) and secret (with secret_values).
You are not forced to use one or the other. All of them can be used. What you need to take into account is that the patches are applied in a specific order:
inline_valuesconfigmap_valuessecret_values
Recommended namespace management in OSM
Although it is technically possible to create the namespaces together with the KSUs (as part of the templates folder), it is recommended to manage the namespace with an independent KSU (based on apps/namespace OKA), which will guarantee that multiple KSUs can be created from the same OKA in the same namespace.
Otherwise, if two KSUs are deployed on the same namespace, the creation will work (no conflict if the namespace already exists), but there will be issues when deleting one KSU because the namespace could not be deleted when being used by other KSUs.
OSM commands to do the operations using the pre-existing OKAs
export OKA_FOLDER="${OSM_PACKAGES_FOLDER}/oka/apps"
osm oka-add jenkins ${OKA_FOLDER}/namespace --description namespace --profile-type app-profile
osm oka-add jenkins ${OKA_FOLDER}/jenkins --description jenkins --profile-type app-profile
osm oka-add testacme ${OKA_FOLDER}/testacme --description testacme --profile-type app-profile
# KSU jenkins-ns to create the namespace `jenkins`
osm ksu-create --ksu jenkins-ns --description jenkins-ns --profile mydemo --profile-type app-profile --oka namespace --params ${OKA_FOLDER}/jenkins-ns-params.yaml
# KSU testacme to create the testacme app in the namespace `default`
osm ksu-create --ksu testacme --description testacme --profile mydemo --profile-type app-profile --oka testacme
# KSU jenkins to create the testacme app in the namespace `jenkins`
osm ksu-create --ksu jenkins --description jenkins --profile mydemo --profile-type app-profile --oka jenkins --params ${OKA_FOLDER}/jenkins-params.yaml